Tower of Power: Difference between revisions
No edit summary |
No edit summary |
||
| (11 intermediate revisions by 2 users not shown) | |||
| Line 8: | Line 8: | ||
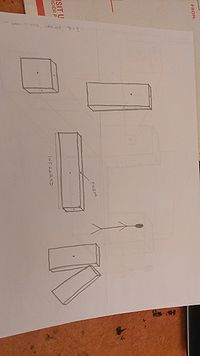
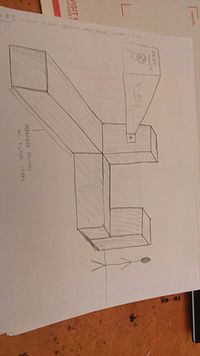
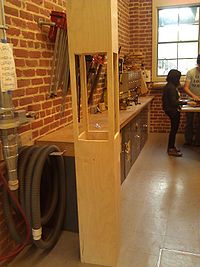
[[File:ToP1.jpg|200px]] [[File:ToP2.jpg|200px]] [[File:ToP3.jpg|200px]] [[File:WP_000000.jpg|200px]] | [[File:ToP1.jpg|200px]] [[File:ToP2.jpg|200px]] [[File:ToP3.jpg|200px]] [[File:WP_000000.jpg|200px]] | ||
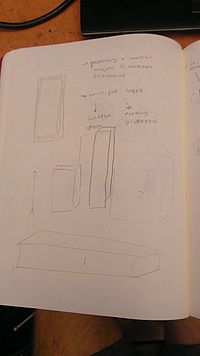
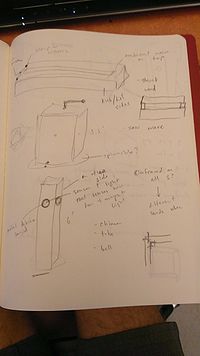
*Sound Design | |||
[[File:Sd1.jpg|250px]] [[File:Sd2.jpg|250px]] [[File:Sd 3.jpg|250px]] | |||
* Prototype photos | * Prototype photos | ||
| Line 23: | Line 27: | ||
* Construction | * Construction | ||
[[File: | [[File:construct2.JPG|200px]] [[File:construct.JPG|200px]] [[File:construct1.JPG|200px]] [[File:WP_000010.jpg|200px]] [[File:WP_000011.jpg|200px]] [[File:WP_000012.jpg|200px]] [[File:WP_000015.jpg|200px]] [[File:WP_000016.jpg|200px]] | ||
* Piezo and Distance Sensor Wiring | |||
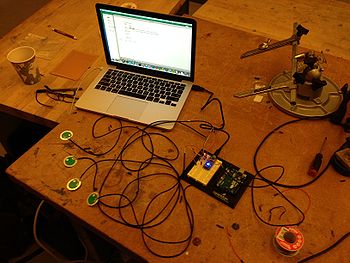
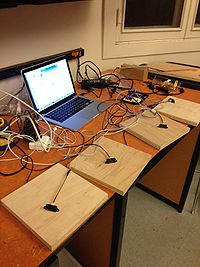
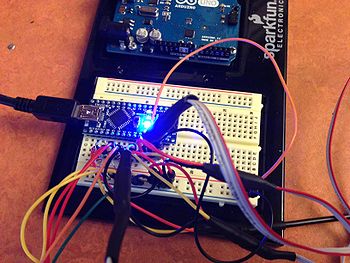
[[File:A.JPG|350px]][[File:C.JPG|200px]][[File:B.JPG|350px]] | |||
== examples of similar work == | == examples of similar work == | ||
| Line 78: | Line 84: | ||
<br>12. implement LED's | <br>12. implement LED's | ||
<br>13. plug into speakers | <br>13. plug into speakers | ||
<br>14. play | <br>14. play <br> | ||
== updated timeline for completion == | |||
Monday November 17th: Finish Tower Construction + Begin Sound Design <br> | |||
Tuesday November 18th: Wire Piezos + Sensors in tower <br> | |||
Wednesday November 19th: Build stand for tower (wood to be bought at Home Depot) <br> | |||
Thursday November 20th: Wire LED's <br> | |||
Friday November 21st: Finish any extra sound design/wiring needs <br> | |||
----THANKSGIVING BREAK | |||
---- | |||
Monday December 1st: Dress Rehearsal <br> | |||
Tuesday December 2nd: Take care of any troubleshooting needs <br> | |||
Wednesday December 3rd: Presentation and Documentation Session (5-7pm)<br> | |||
Latest revision as of 21:51, 21 November 2014
drawings
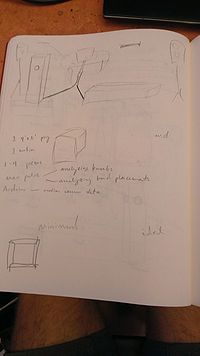
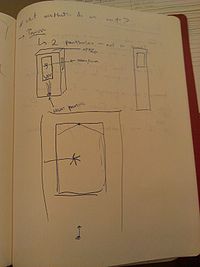
- First draft sketches by Connor
- Initial sketches by Graham and Connor
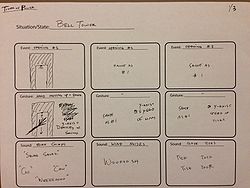
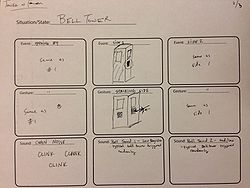
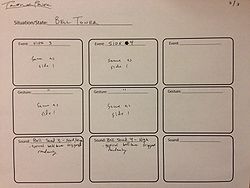
- Sound Design
- Prototype photos
- Distance Sensor prototyping
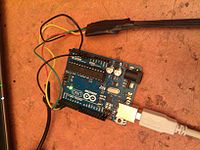
- LED and Arduino prototyping
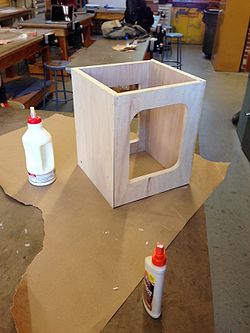
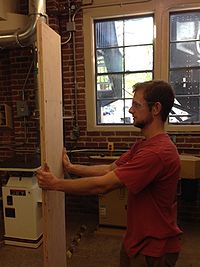
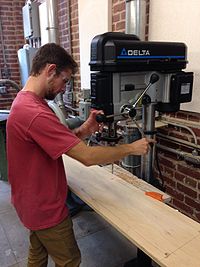
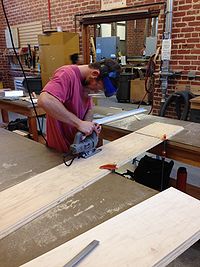
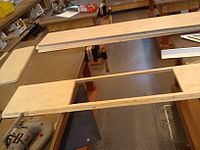
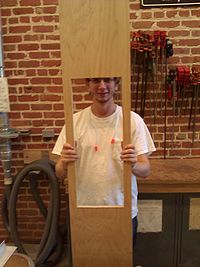
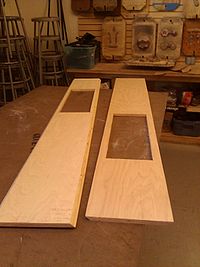
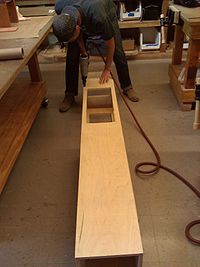
- Construction
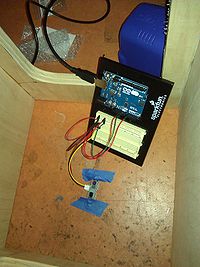
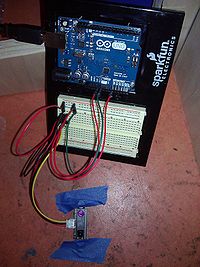
- Piezo and Distance Sensor Wiring
examples of similar work
- Theremin Bollards - http://www.youtube.com/watch?v=d0BrkQBEIq0&list=UUG0gXPwXDonUW2A_F8aZPhw. Ambient noise and body relation to sculpture.
- Materies Sensibles (Sensitive Matter) by Scenocosme - http://www.youtube.com/watch?v=88RNMFOWa_A. Materiality and ambient noise.
- Pulse Surface Control System - http://www.youtube.com/watch?v=a4CSIPGAFIE. Bringing in velocity to the Piezo pickup.
- Zourman and his e-cajon drum - http://www.youtube.com/watch?v=eI36hQwoMKA. Crosstalk between Piezos is a big issue.
- Resonant Chaos by Maria Koshenkova - http://www.youtube.com/watch?v=Ro1778HbfZw. Mystery of interaction is super interesting.
lists
minimum viable project
- 2 boxes - one tower and one platform with piezo contact mics and distance sensors.
- tower will have rectangles cut out of two faces so users can place arms through the tower. it will not have a top.
- piezos will be on each face of the tower and platform and will have pre-loaded samples. when struck, they will play those sounds.
- distance sensors will be on two faces of the tower and along top face of platform. they will connect to ambient noise that is altered by how close/far the user is from the sensor.
- speakers are outside of 2 boxes and are connected by wires.
desired output
- 3 boxes instead of 2. the next box will be a rectangular prism and in between the tower and platform in size and shape
- piezos and distance sensors would be a part of it as well.
- LED's would be introduced and would change based upon the body of the user in relation to the distance.
unlimited time
- each box is wholly self-contained with speakers, etc. so users can move them into new arrangements.
- more boxes, of course. total number is undetermined.
- spatial interaction between the boxes and the users would also influence the ambient noise.
materials
1/2 inch thick maple plywood
nails
wood glue
paint
LED's
piezo discs
distance sensors
co-ax cable
Max patches for piezo inputs and distance sensor input
Arduino program for distance sensors and Arduino
steps needed for minimum viable project
1. create timeline for box completion and coding
2. prototype box, piezo interaction, and distance sensors - figure out crosstalk of piezos, etc.
3. write code on Max/MSP to get piezos to map to sound
4. design samples for piezo, ambient noise for distance sensors
5. build boxes
6. after piezos have been figured out, attach piezos to boxes
7. troubleshoot
8. work with distance sensors to write code in Arduino and Max/MSP
9. physically attach sensors
10. troubleshoot
11. paint boxes - color TBD
12. implement LED's
13. plug into speakers
14. play
updated timeline for completion
Monday November 17th: Finish Tower Construction + Begin Sound Design
Tuesday November 18th: Wire Piezos + Sensors in tower
Wednesday November 19th: Build stand for tower (wood to be bought at Home Depot)
Thursday November 20th: Wire LED's
Friday November 21st: Finish any extra sound design/wiring needs
THANKSGIVING BREAK
Monday December 1st: Dress Rehearsal
Tuesday December 2nd: Take care of any troubleshooting needs
Wednesday December 3rd: Presentation and Documentation Session (5-7pm)
