Difference between revisions of "220a/miniAudicle-intro"
(→Looping the Sine) |
(→Looping the Sine) |
||
| Line 119: | Line 119: | ||
| − | + | It's important to know that you can remove shreds directly from this list in the VM window, by hitting the minus (-) next to the shred you want to remove! | |
Revision as of 23:19, 3 October 2007
This document shows how to open, start, and run/observe ChucK programs in the miniAudicle.
Contents
Opening the miniAudicle
- start JACK (see starting jack)
- start the miniAudicle via the following steps:
- (make sure JACK is already started at this point)
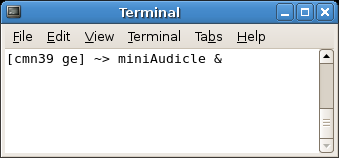
- open a terminal window
- at the prompt type:
miniAudicle &
(looks something like this):
miniAudicle should then open, and should include the following windows:
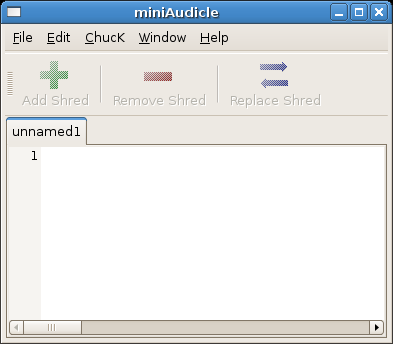
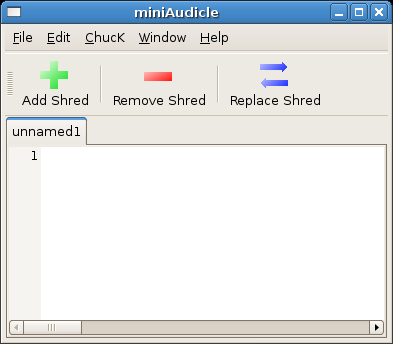
editor
The editor serves two primary purposes. First, it's where we write our ChucK code. Second, we use the buttons (+, -, =) above to add, remove, or replace code into the ChucK Virtual Machine (where our code is executed, and where audio is generated). Note how the "Add Shred", "Remove Shred", and "Replace Shred" buttons are grayed out: this indicates that the ChucK Virtual Machine is currently OFF.
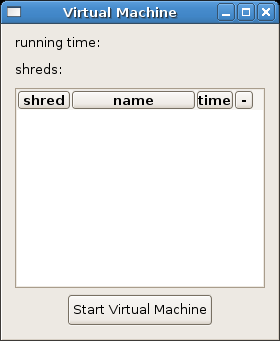
virtual machine window
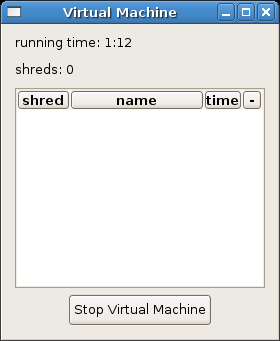
The virtual machine (VM) window is where we start/stop ChucK. It also lists ChucK program pieces (called shreds) that are currently running in the VM. Since we haven't started the VM at this point, the list is empty.
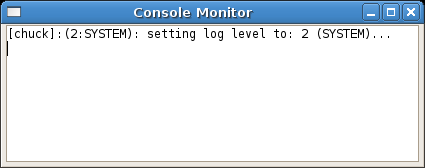
console monitor
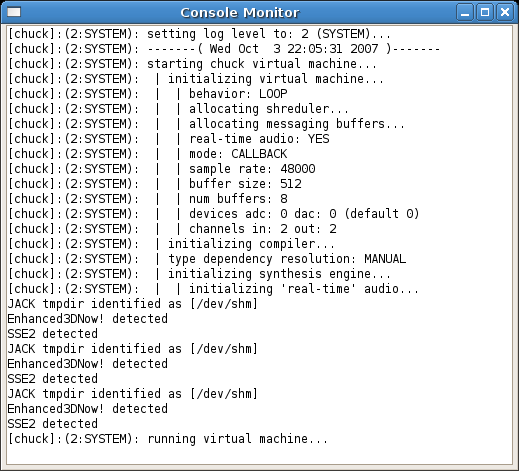
The next window, the console monitor, displays messages from ChucK, as well as from the programs that are currently running. It logs messages from ChucK and, very importantly, displays when ChucK encounters an error in the code (which can happen when you try to add a shred). Basically, when things aren't working as expected, this is one of the first places to check.
That's it, these are the different part of the miniAudicle. Now, let's run something!
Starting the miniAudicle
- In order to run ChucK code in the miniAudicle, we must start the virtual machine! To do so, press the "Start Virtual Machine" button in the Virtual Machine window. If all goes well, it should look as follows:
virtual machine window (running)
If all goes well, note that the clock near the top of the window has started (this is actually displaying ChucK time!), and the "Start Virtual Machine" should now read "Stop Virtual Machine". Additionally, your console monitor window should have no major error displayed (see below).
console monitor (OK after starting)
It should look something like this, which tells you some information about the system (sample rate, buffer size, number of channels).
editor (ready to ChucK!)
If the VM was successfully started, then the editor window button should be enabled, like this:
Hello Sinewave (a first ChucK program)
Let's write some ChucK code. In this first program, we are going to:
- create a sinewave generator (a SinOsc called foo)
- connect foo to the dac (much like the dac~ object in Pd)
- "advance time" by 1 second (to let the audio generate)
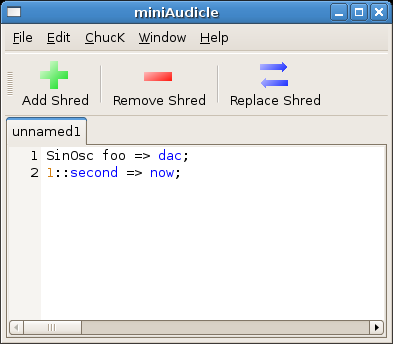
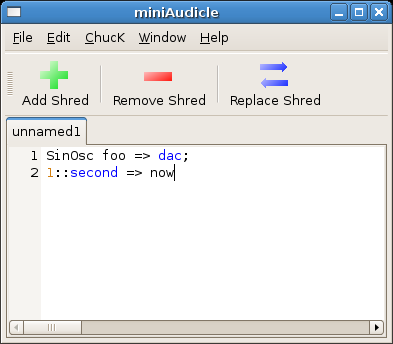
To do so, enter the following code into the miniAudicle editor:
   SinOsc foo => dac;
   1::second => now;
That should look something like this:
editor (containing our Hello Sinewave program)
Don't forget the semicolons! Also note that the numbers "1" and "2" on the left here are not part of the code but indicate the line numbers!
- now, run the program by hitting "Add Shred" in the editor
You should hear a 220hz sine tone for 1 second (since we didn't specify a frequency for foo, it defaulted to 220hz). If you don't hear anything, check your Console Monitor window: you may have an error in the code! For example...
editor + monitor (example of error in code)
Let's say we left off the semicolon at the end of the second line, like this:
When we try to "Add Shred" in the editor, nothing happens (hopefully). So the first place to look is usually always the console monitor. Here we see the console monitor displaying that there was a syntax error around line 2. syntax error is ChucK's way of telling you that your code doesn't conform to the rules of the ChucK grammar (after all, ChucK is a language). In this case, ChucK can't make sense of the code because the second line is missing a semicolon. Also be mindful of this: line numbers in error reporting aren't always exact (ChucK may not be sure there was an problem until several lines after the actual error) - so look in the vicinity of the indicated line number when looking for errors!
Hello Sinewave (part 2 and 3)
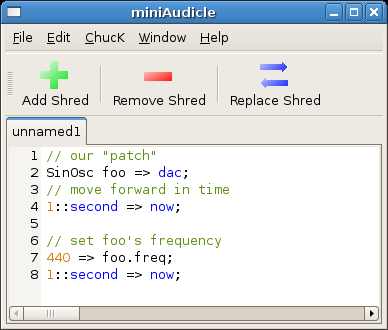
- next, add to our program (if you'd like, save the file - e.g., as hello.ck):
- add the shred! what do you hear?
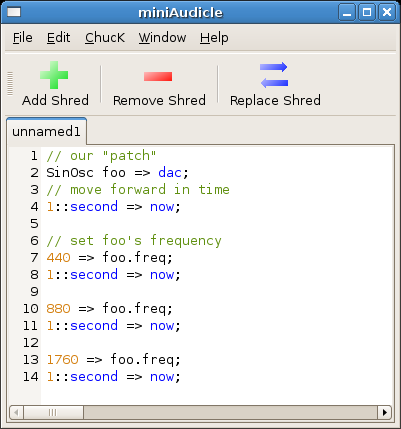
- next, add two more parts to our program
- add the shred! how are the pitches of the tones related?
Looping the Sine
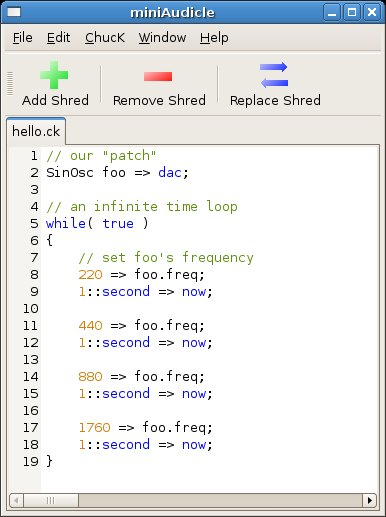
So far, we've constructed a program that generates a sinewave, whose frequency is changed over time before reaching the end of the program. What if we want to keep repeating these changes in frequency?
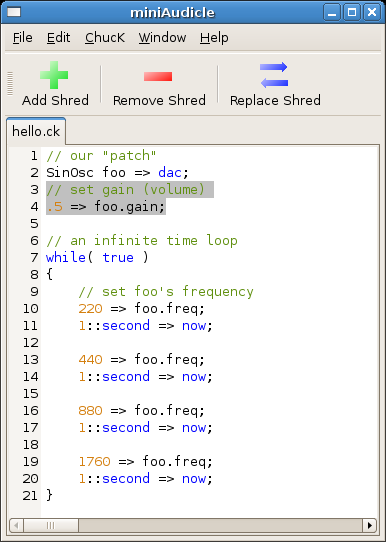
- enclose part of the code in a while loop, as shown below. Note exactly what went inside the while loop (between the curly brackets { }): that's the part to be repeated - and what went before and outside the while loop: creating and connecting the SinOsc (we only want that to happen once!). We also add a line to reset the frequency to 220 at the beginning of every loop iteration.
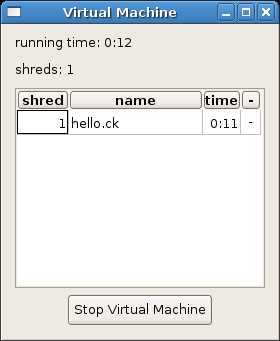
- add the shred! - you should now hear the sequence repeating endlessly. To stop this nonsense (it will keep going!), press "Remove Shred". NOTE: if you added more than one, remove shred will only remove the most recent one. This brings us back to the Virtual Machine window. When a shred is added and running (like our endless sequence), you should be able to see it in the VM window:
It's important to know that you can remove shreds directly from this list in the VM window, by hitting the minus (-) next to the shred you want to remove!
a little volume control
- we can control the volume of the SinOsc by setting its gain, as shown below
Here we set the gain to .5 (it defaults to 1) before the loop, if we want to a different gain over time, we can set it over time (similar to how we change the frequency over time).
