220a/miniAudicle-intro
Introduction to running the miniAudicle...
- start JACK (see starting jack)
there are several ways to run ChucK (e.g., via command line, Audicle, miniAudicle). for this lab, we will primarily use the miniAudicle (homepage), a development environment for ChucK that includes the ChucK engine (i.e., it's all you need to starting ChucKin').
Contents
Opening the miniAudicle
- start the miniAudicle via the following steps:
- (make sure JACK is already started at this point)
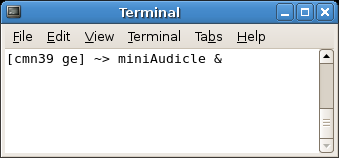
- open a terminal window
- at the prompt type:
miniAudicle &
(looks something like this):
miniAudicle should then open, and should include the following windows:
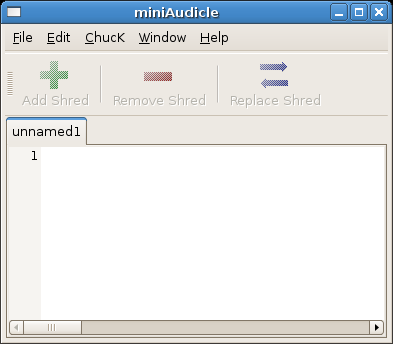
editor
The editor serves two primary purposes. First, it's where we write our ChucK code. Second, we use the buttons (+, -, =) above to add, remove, or replace code into the ChucK Virtual Machine (where our code is executed, and where audio is generated). Note how the "Add Shred", "Remove Shred", and "Replace Shred" buttons are grayed out: this indicates that the ChucK Virtual Machine is currently OFF.
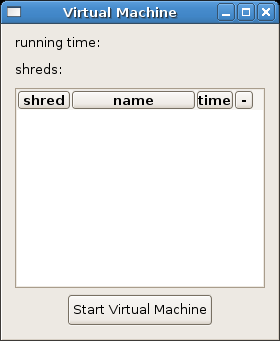
virtual machine window
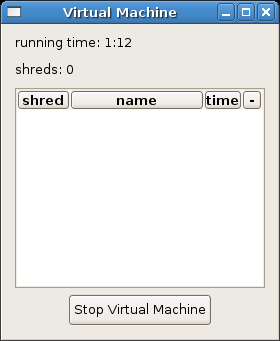
The virtual machine (VM) window is where we start/stop ChucK. It also lists ChucK program pieces (called shreds) that are currently running in the VM. Since we haven't started the VM at this point, the list is empty.
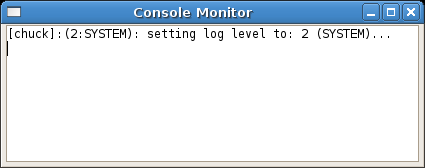
console monitor
The next window, the console monitor, displays messages from ChucK, as well as from the programs that are currently running. It logs messages from ChucK and, very importantly, displays when ChucK encounters an error in the code (which can happen when you try to add a shred). Basically, when things aren't working as expected, this is one of the first places to check.
That's it, these are the different part of the miniAudicle. Now, let's run something!
Starting the miniAudicle
- In order to run ChucK code in the miniAudicle, we must start the virtual machine! To do so, press the "Start Virtual Machine" button in the Virtual Machine window. If all goes well, it should look as follows:
